The term vessel in a naval context includes commissioned and non-commissioned ships, boats and submarines of all sizes. For the purposes of this website, which will be expanded in the future, we have included shore bases. As the collection grows a new search classification for bases will be added.
Select any Vessel name to view all paintings in that category

Collins Class Submarines

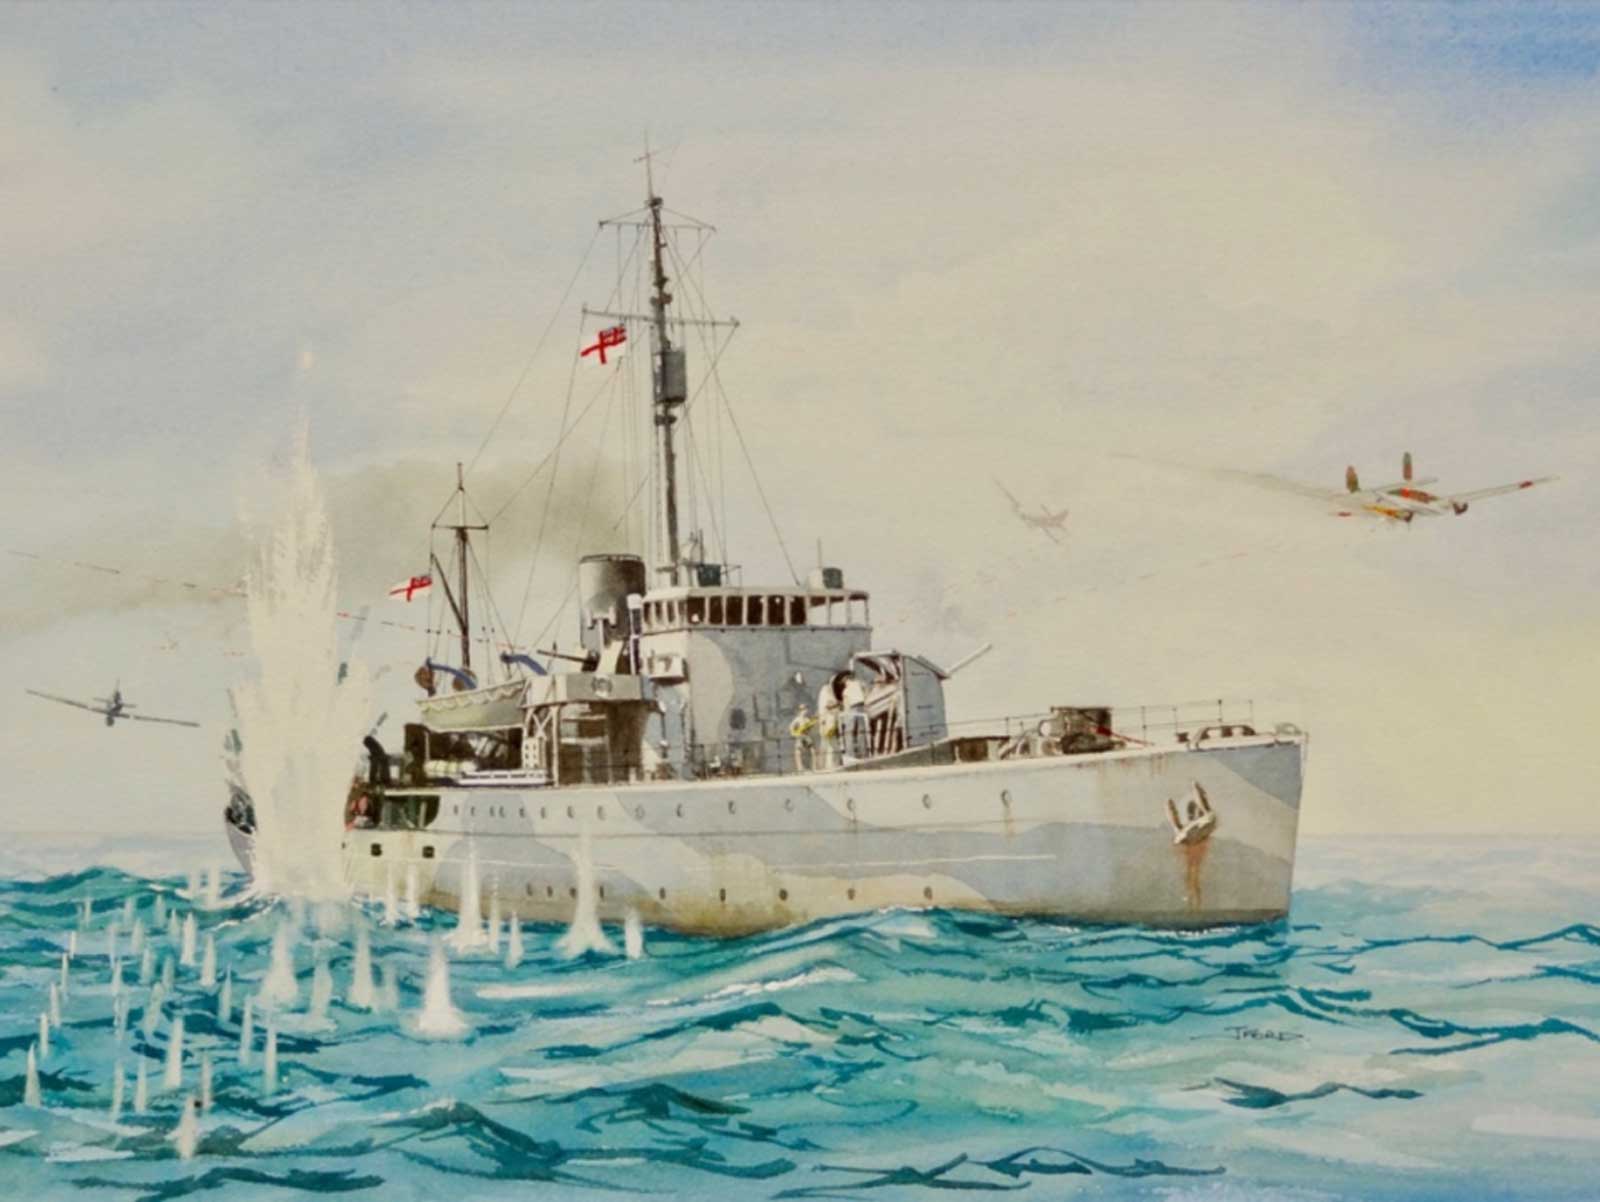
Fairmiles
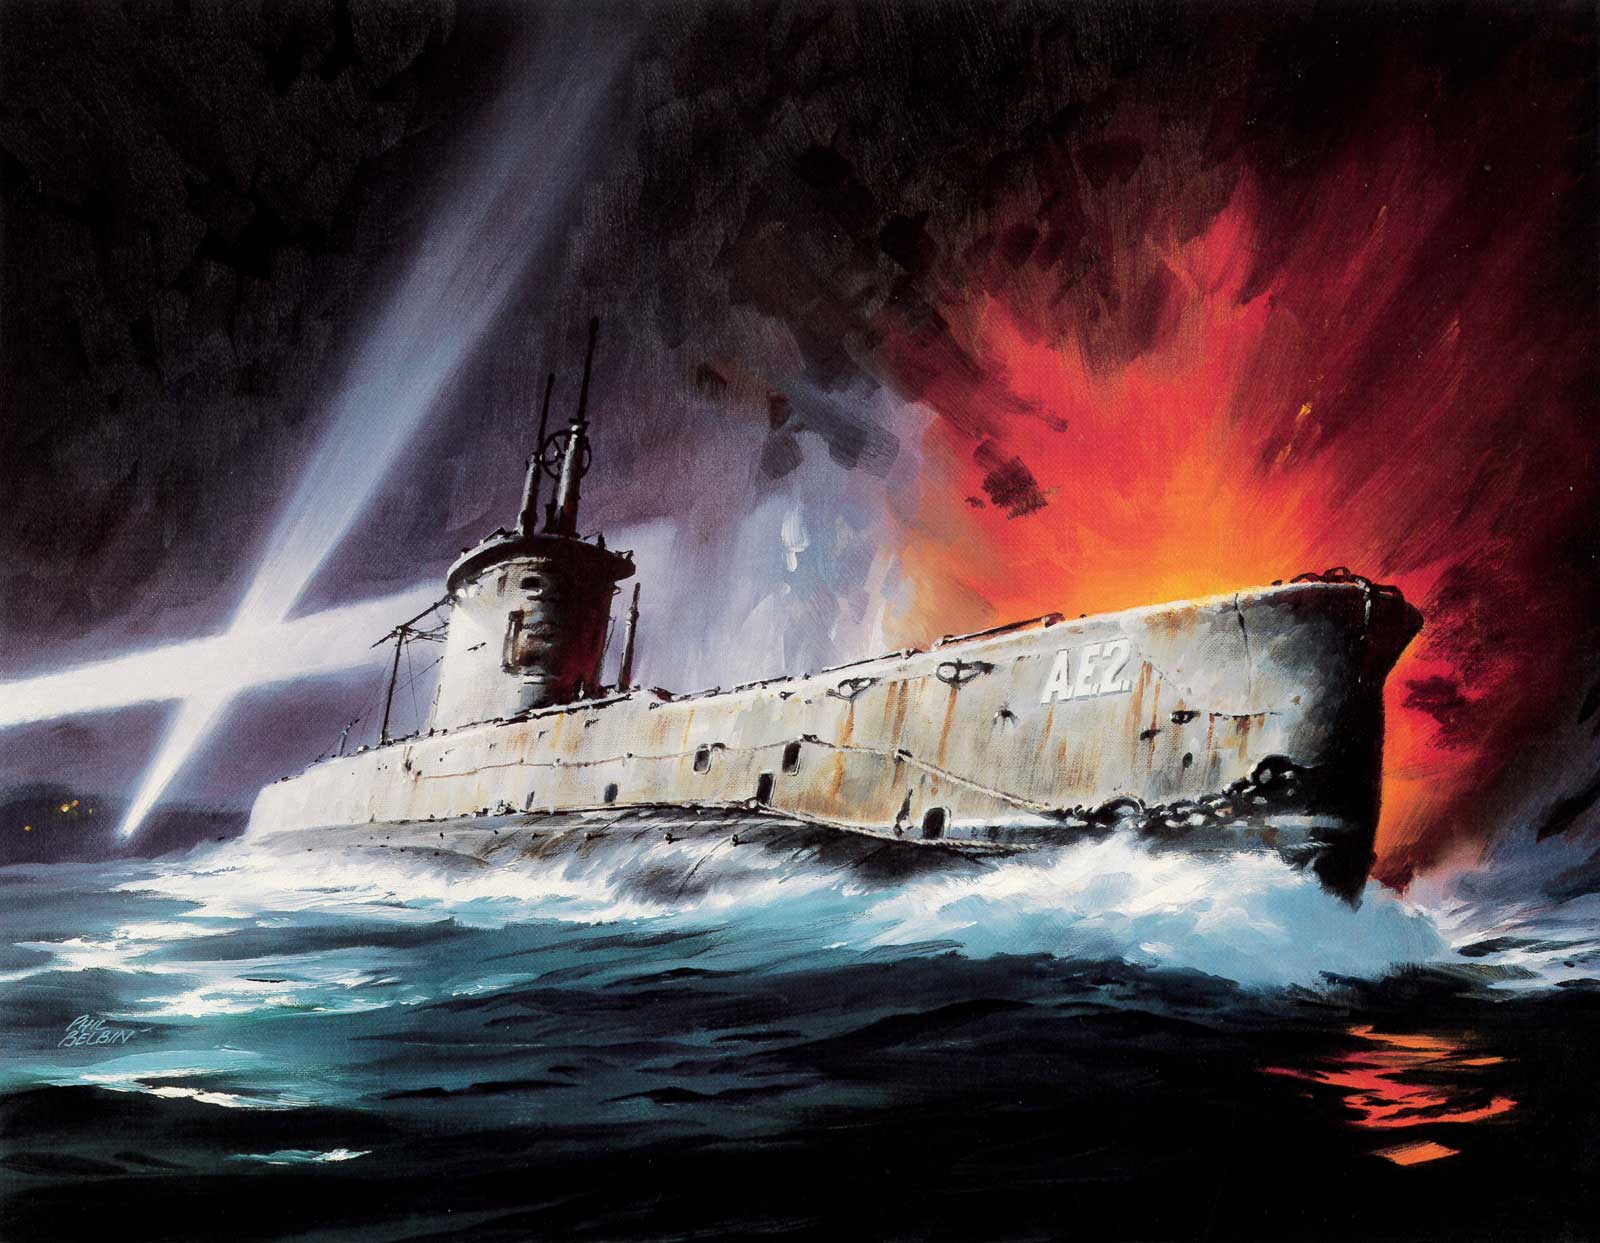
HMAS AE 2
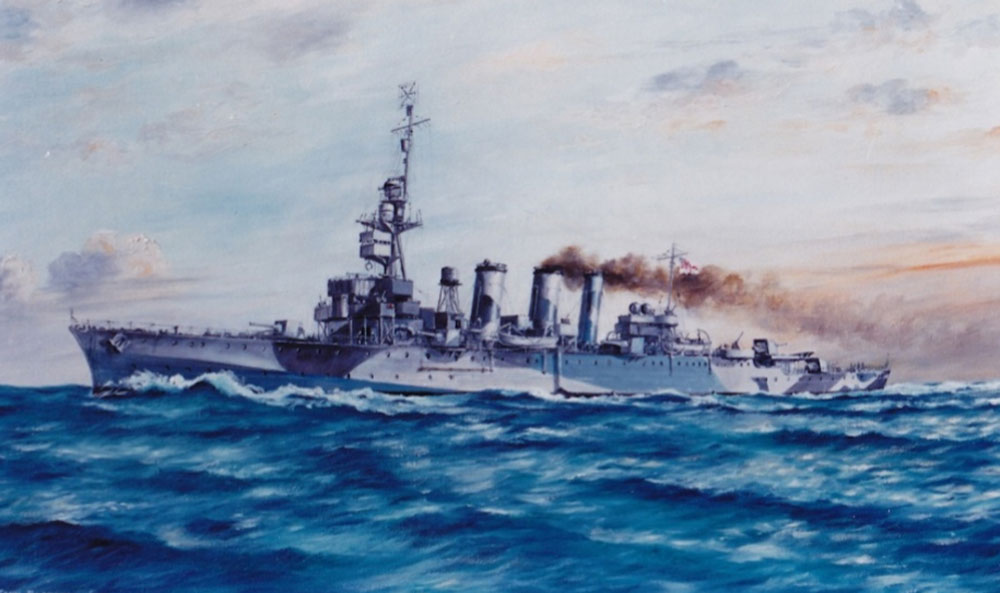
HMAS Adelaide (I)

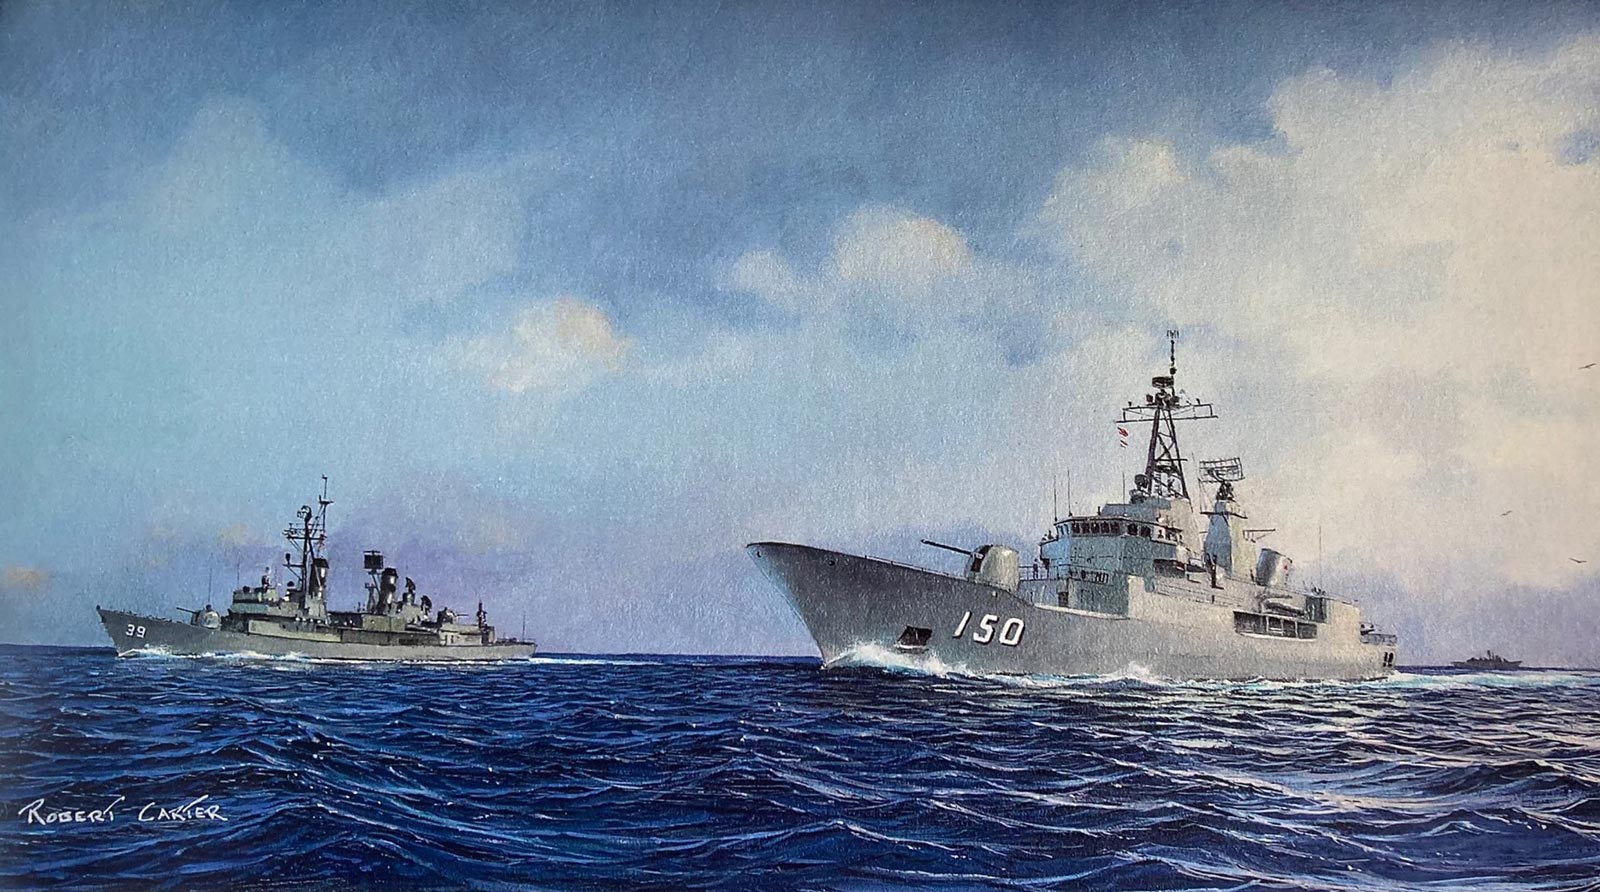
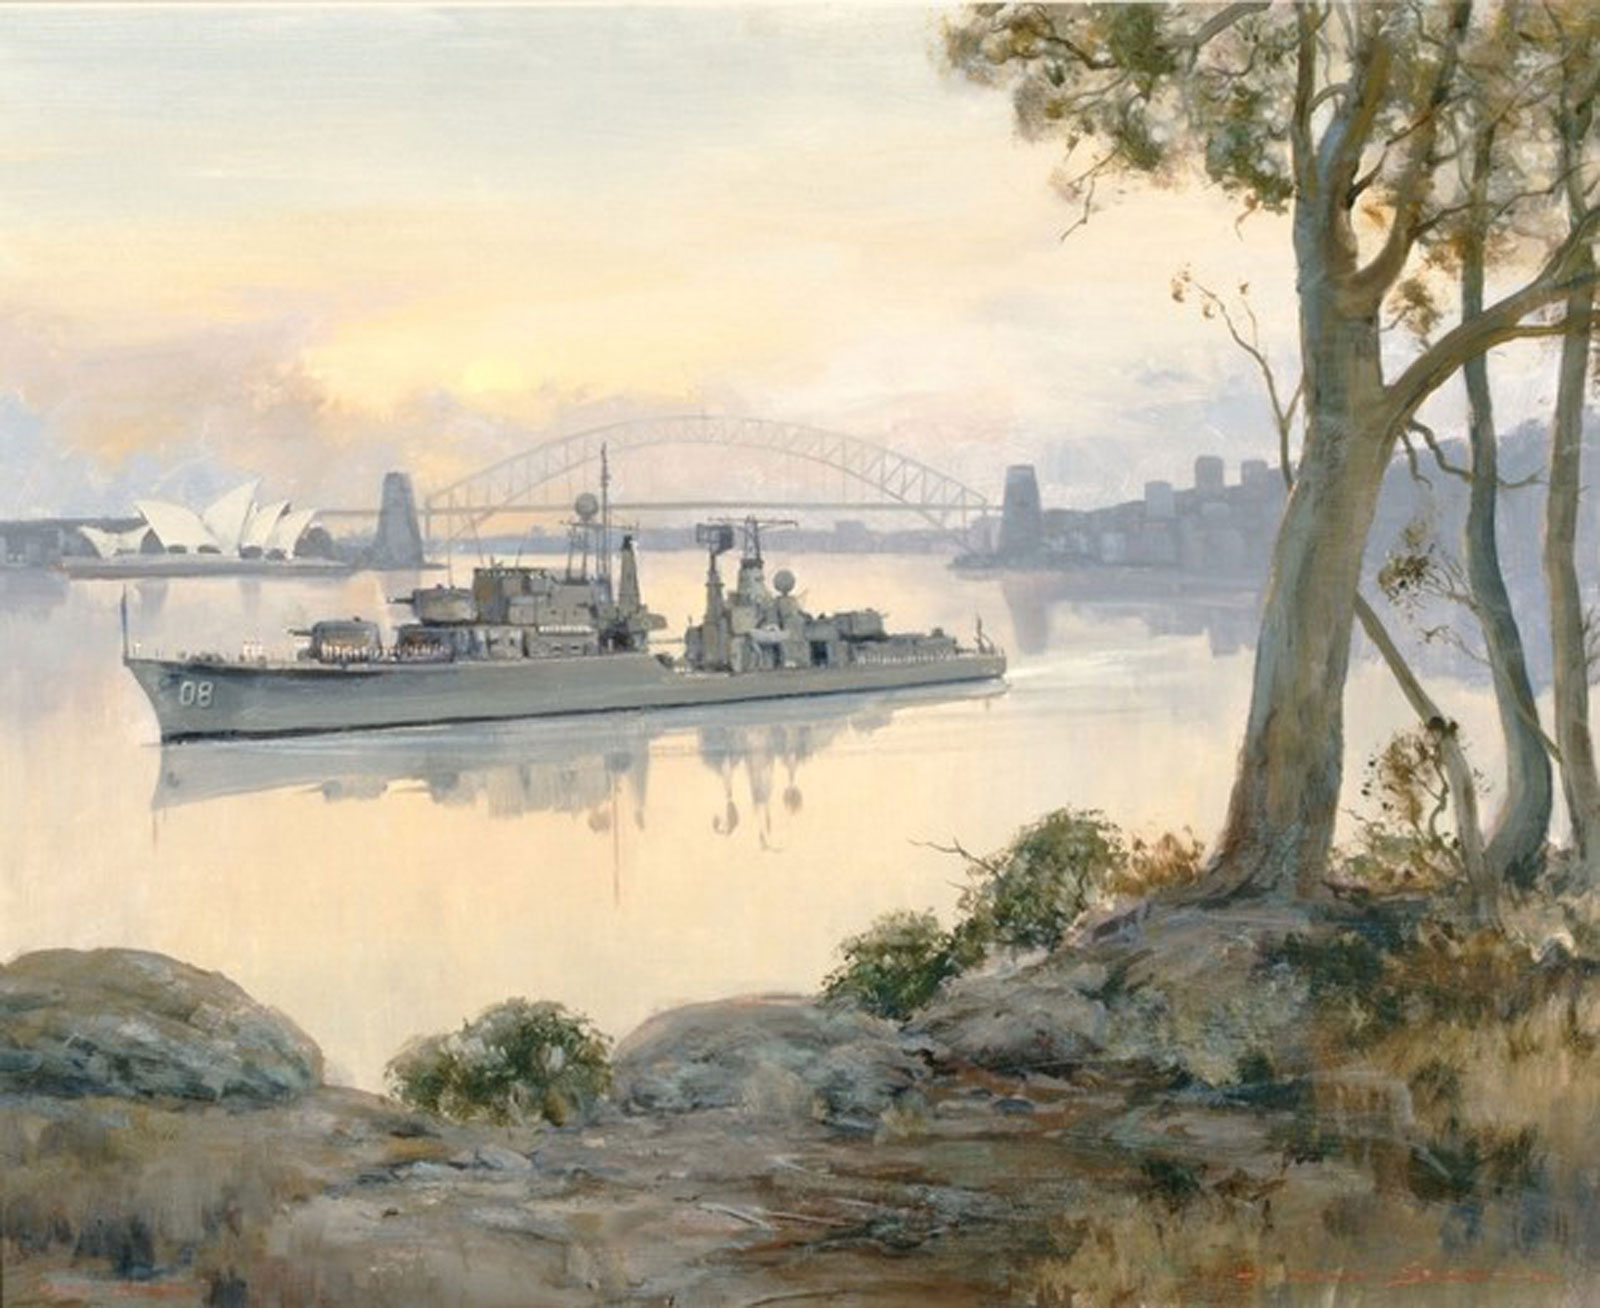
HMAS Adelaide (ll)
HMAS Albatross (I)
HMAS Anzac (lll)
HMAS Armidale (l)
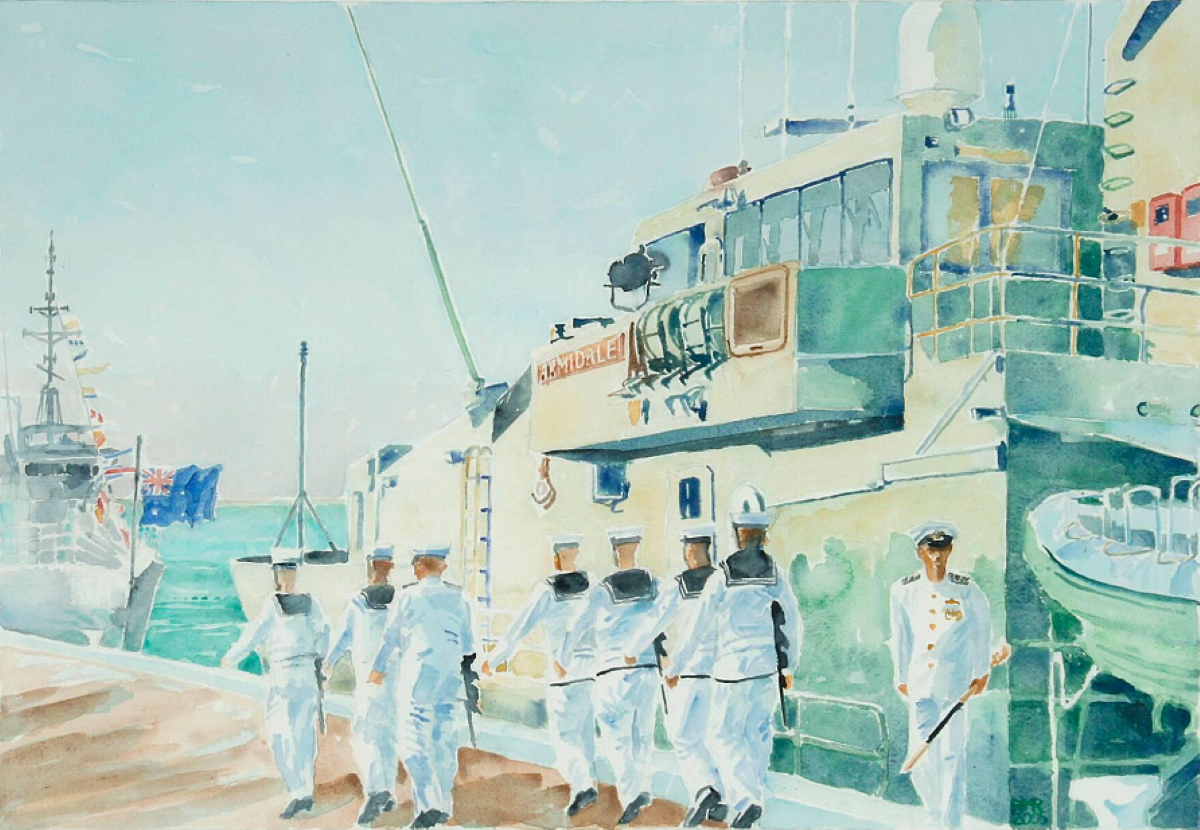
HMAS Armidale (ll)

HMAS Arunta (I)
HMAS Arunta (ll)
HMAS Australia (I)
HMAS Australia (II)
HMAS Bathurst

HMAS Bathurst (l)
HMAS Brisbane (I)
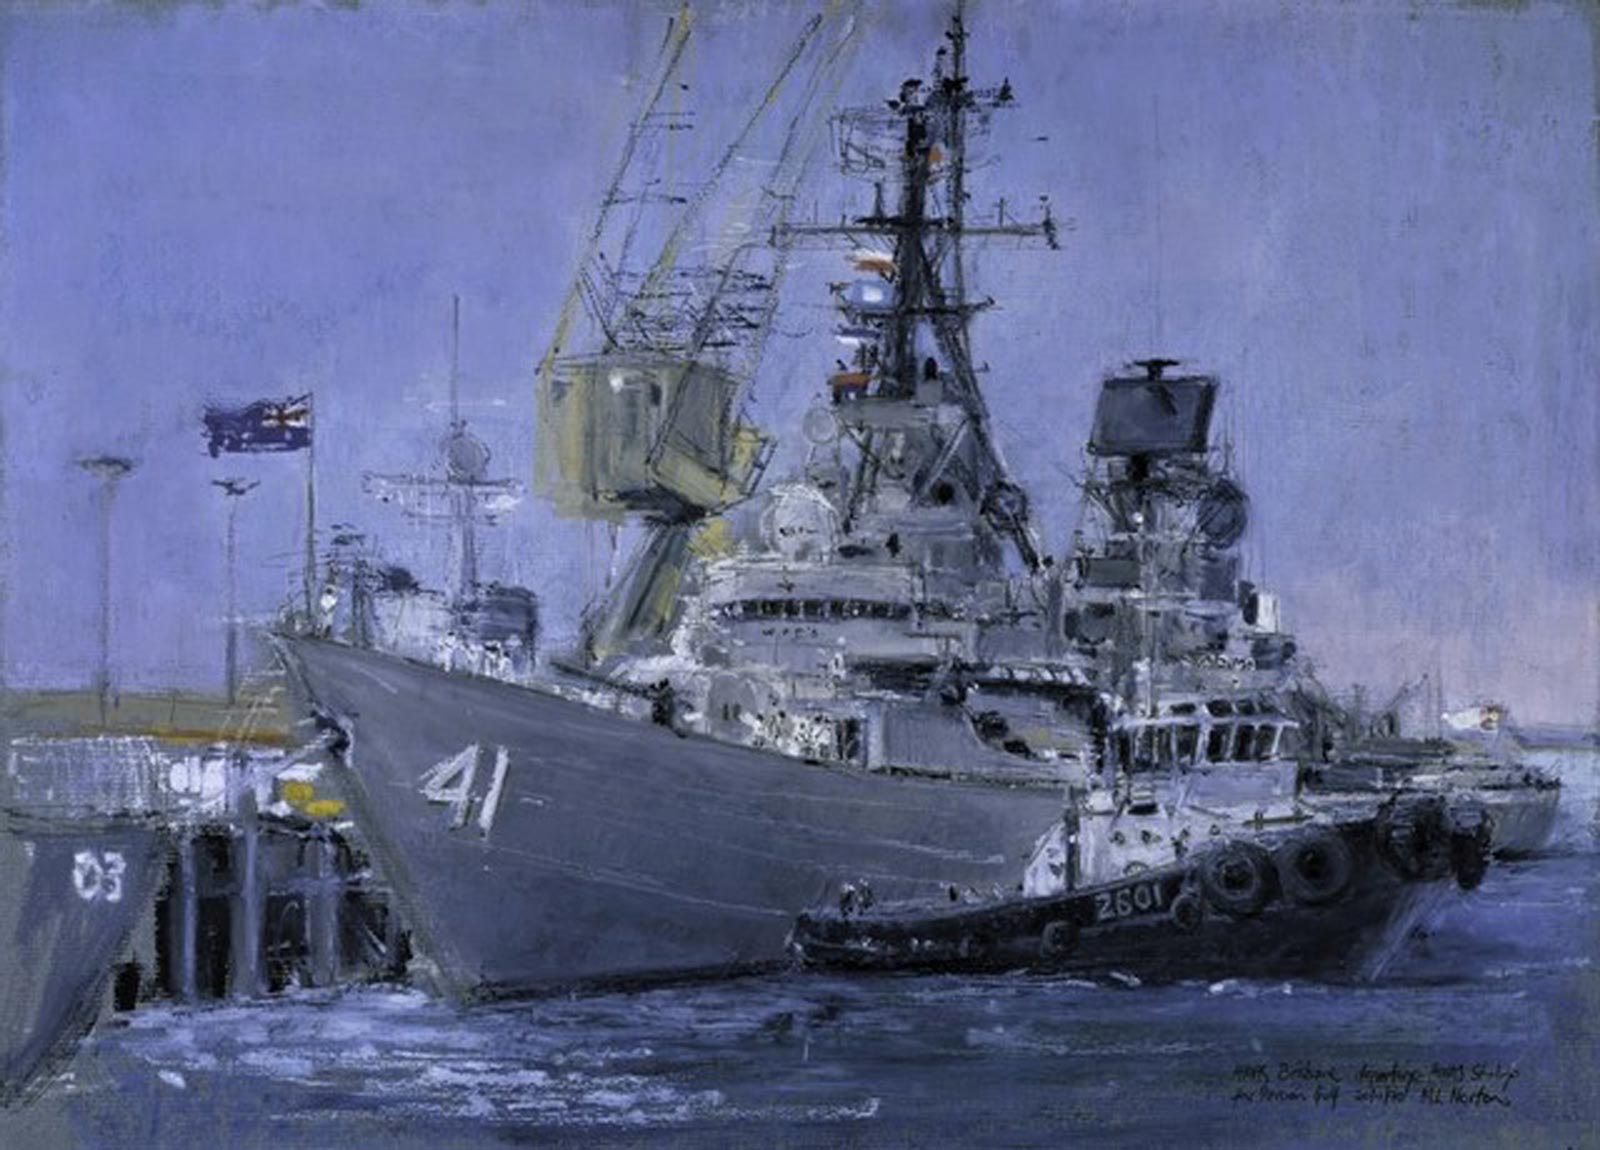
HMAS Brisbane (ll)
HMAS Brisbane (lll)

HMAS Bungaree
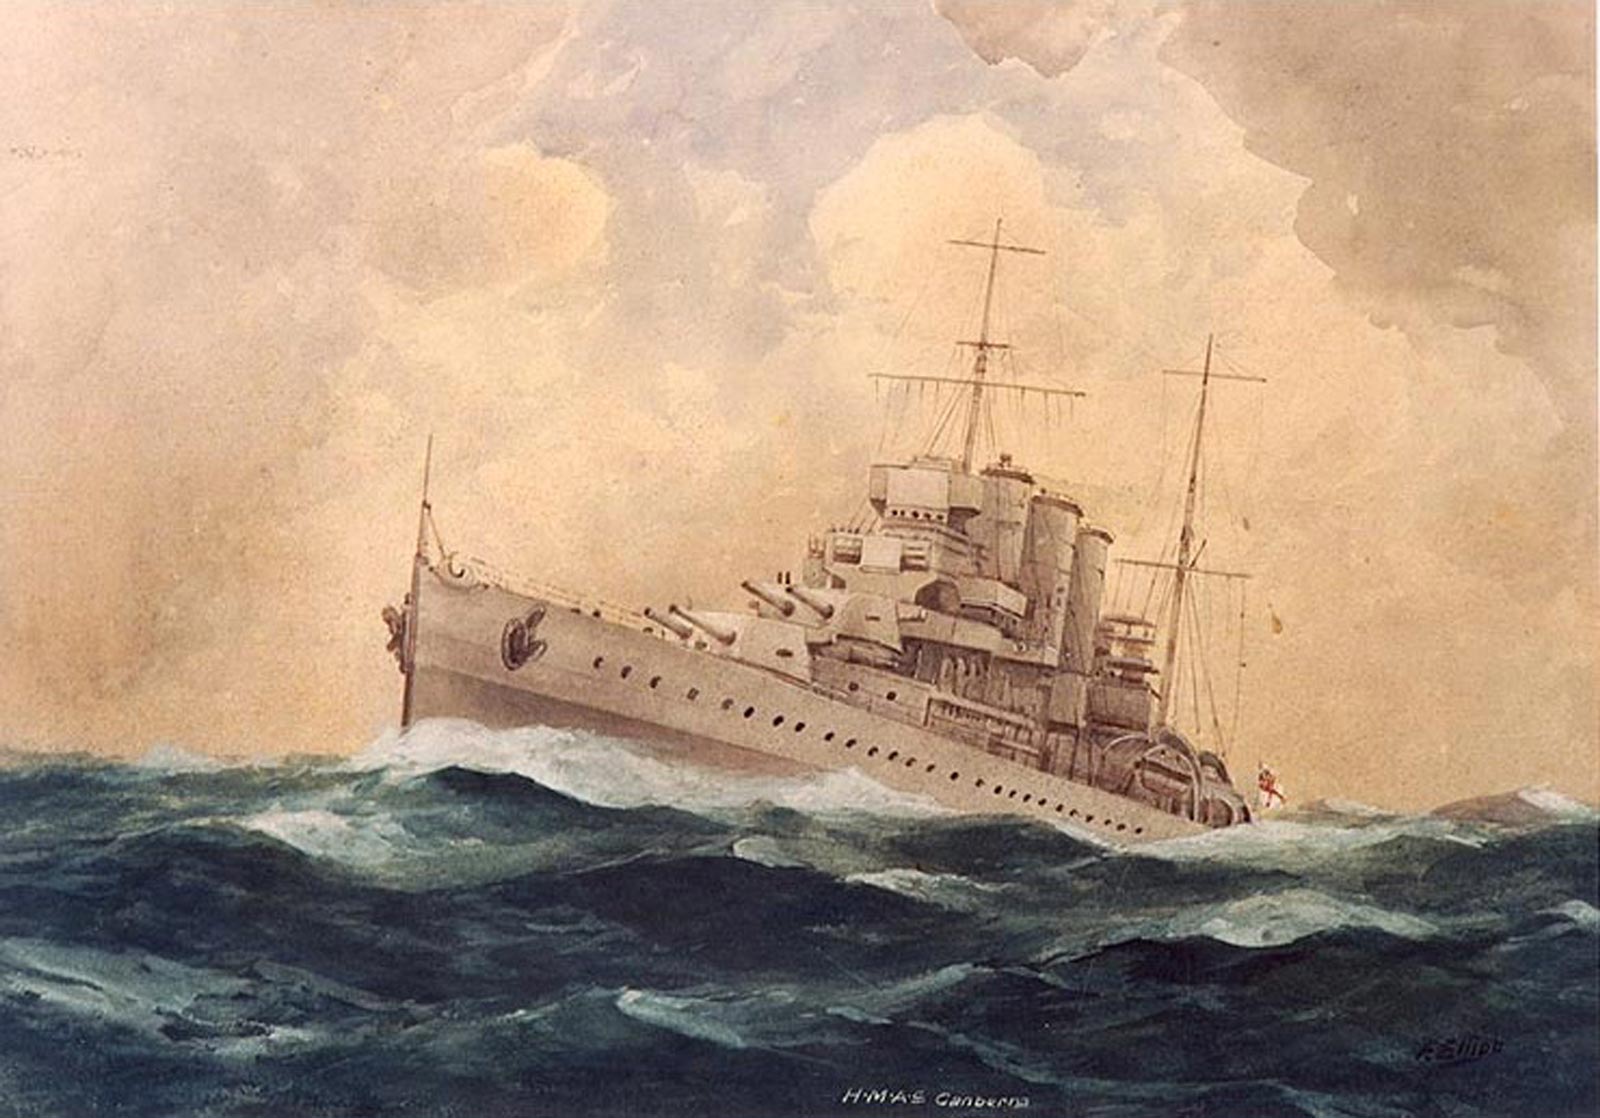
HMAS Canberra (l)
HMAS Canberra (lll)
HMAS Cessnock (l)
HMAS Childers (HMVS)
HMAS Condamine (l)

HMAS Countess of Hopetoun (HMVS)
HMAS Darwin (I)
HMAS Deloraine
HMAS Diamantina (l)
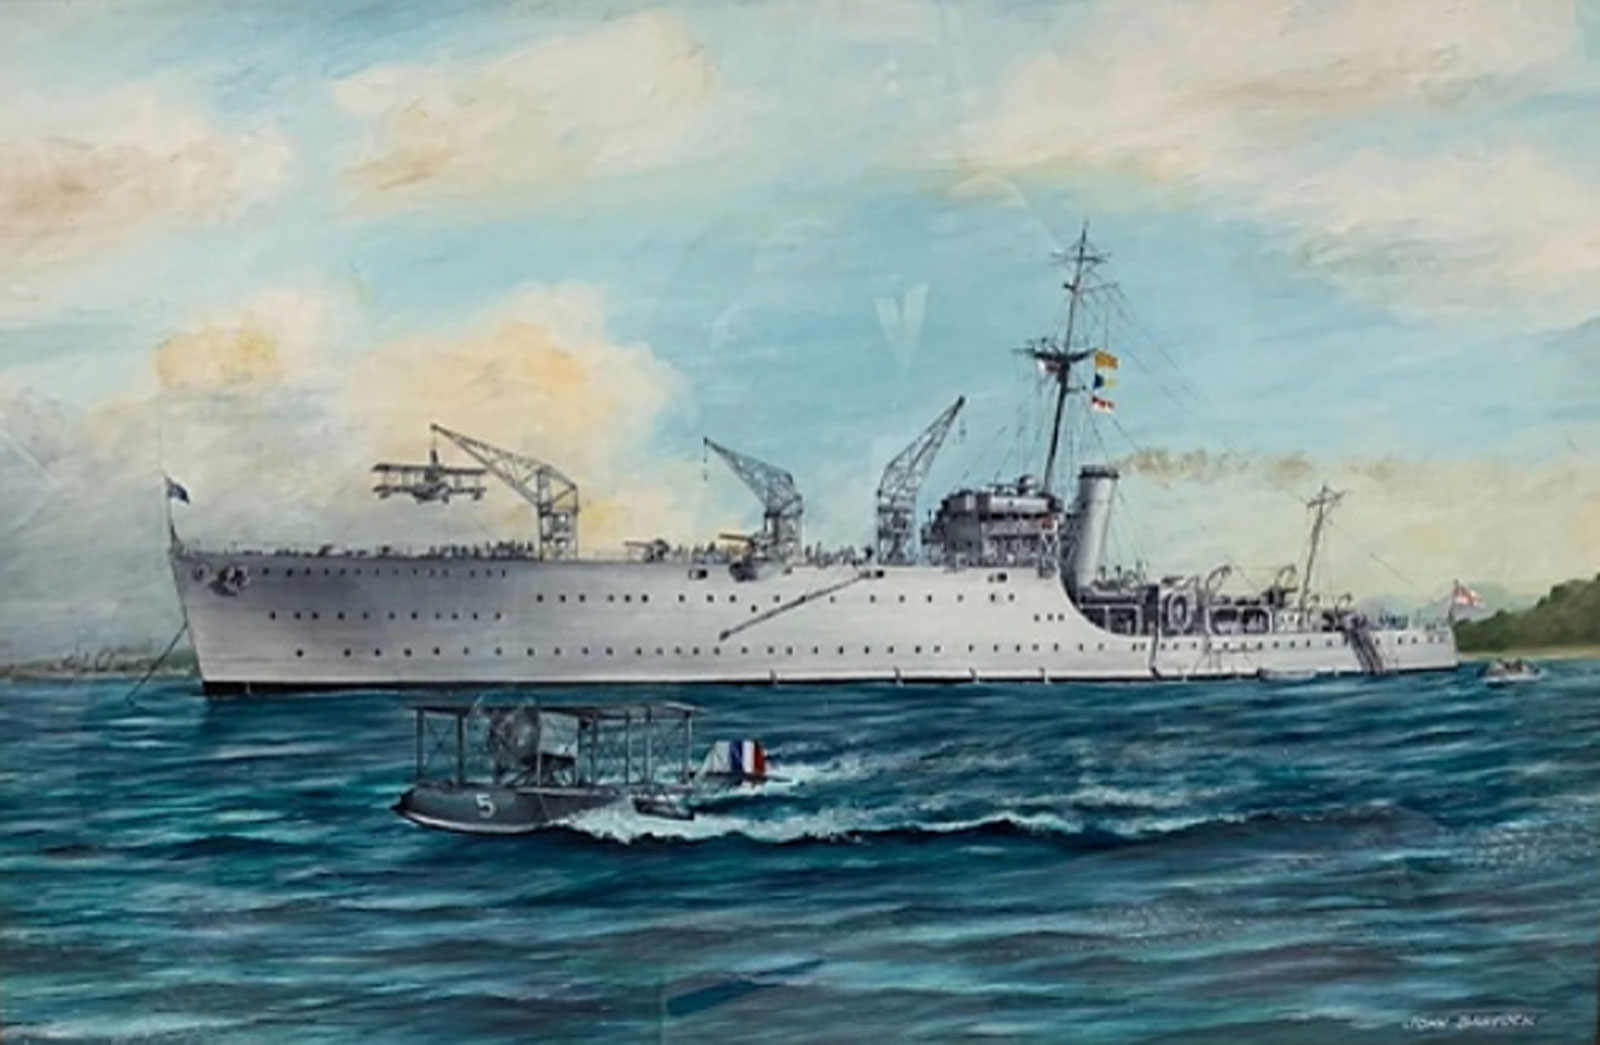
HMAS Encounter (l)
HMAS Fremantle
HMAS Geraldton (ll)
HMAS Geralton (I)
HMAS Gippsland
HMAS Goonambee
HMAS Hobart (l)
HMAS Hobart (ll)
HMAS Hobart (lll)
HMAS Horsham (l)
HMAS Ipswich (l)
HMAS Kanimbla (l)

HMAS Kanimbla (ll)
HMAS Kapunda

HMAS Katoomba

HMAS Kiama
HMAS Launceston (l)
HMAS Launceston (ll)
HMAS Lismore (l)
HMAS Lithgow (l)
HMAS Lonsdale – Royal Australian Navy base
HMAS Mallina
HMAS Manoora (l)
HMAS Melbourne (l)
HMAS Melbourne (ll)
HMAS Melbourne (lll)
HMAS Moresby (l)
HMAS Napier (l)
HMAS Nepal (l)
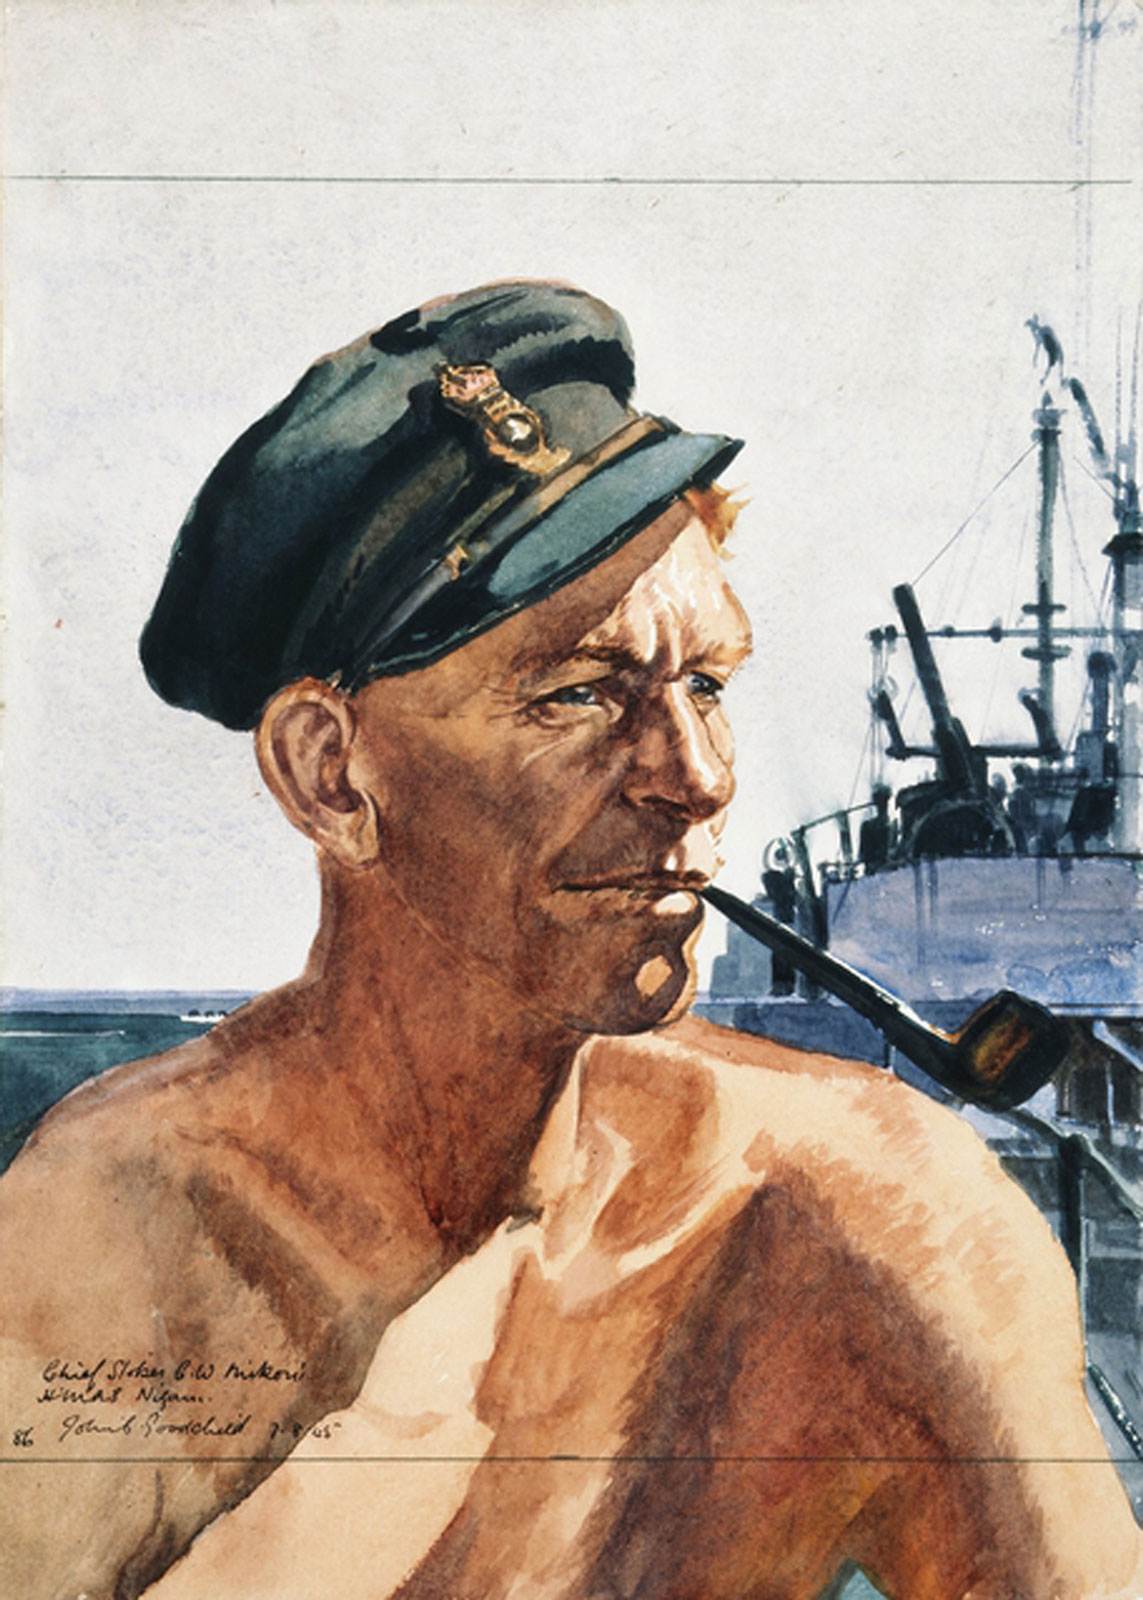
HMAS Nizam (l)
HMAS Parkes (l)
HMAS Parramatta (l)

HMAS Parramatta (ll)
HMAS Patricia Cam
HMAS Perth (l)
HMAS Pioneer (l)
HMAS Protector (l) (HMCS)
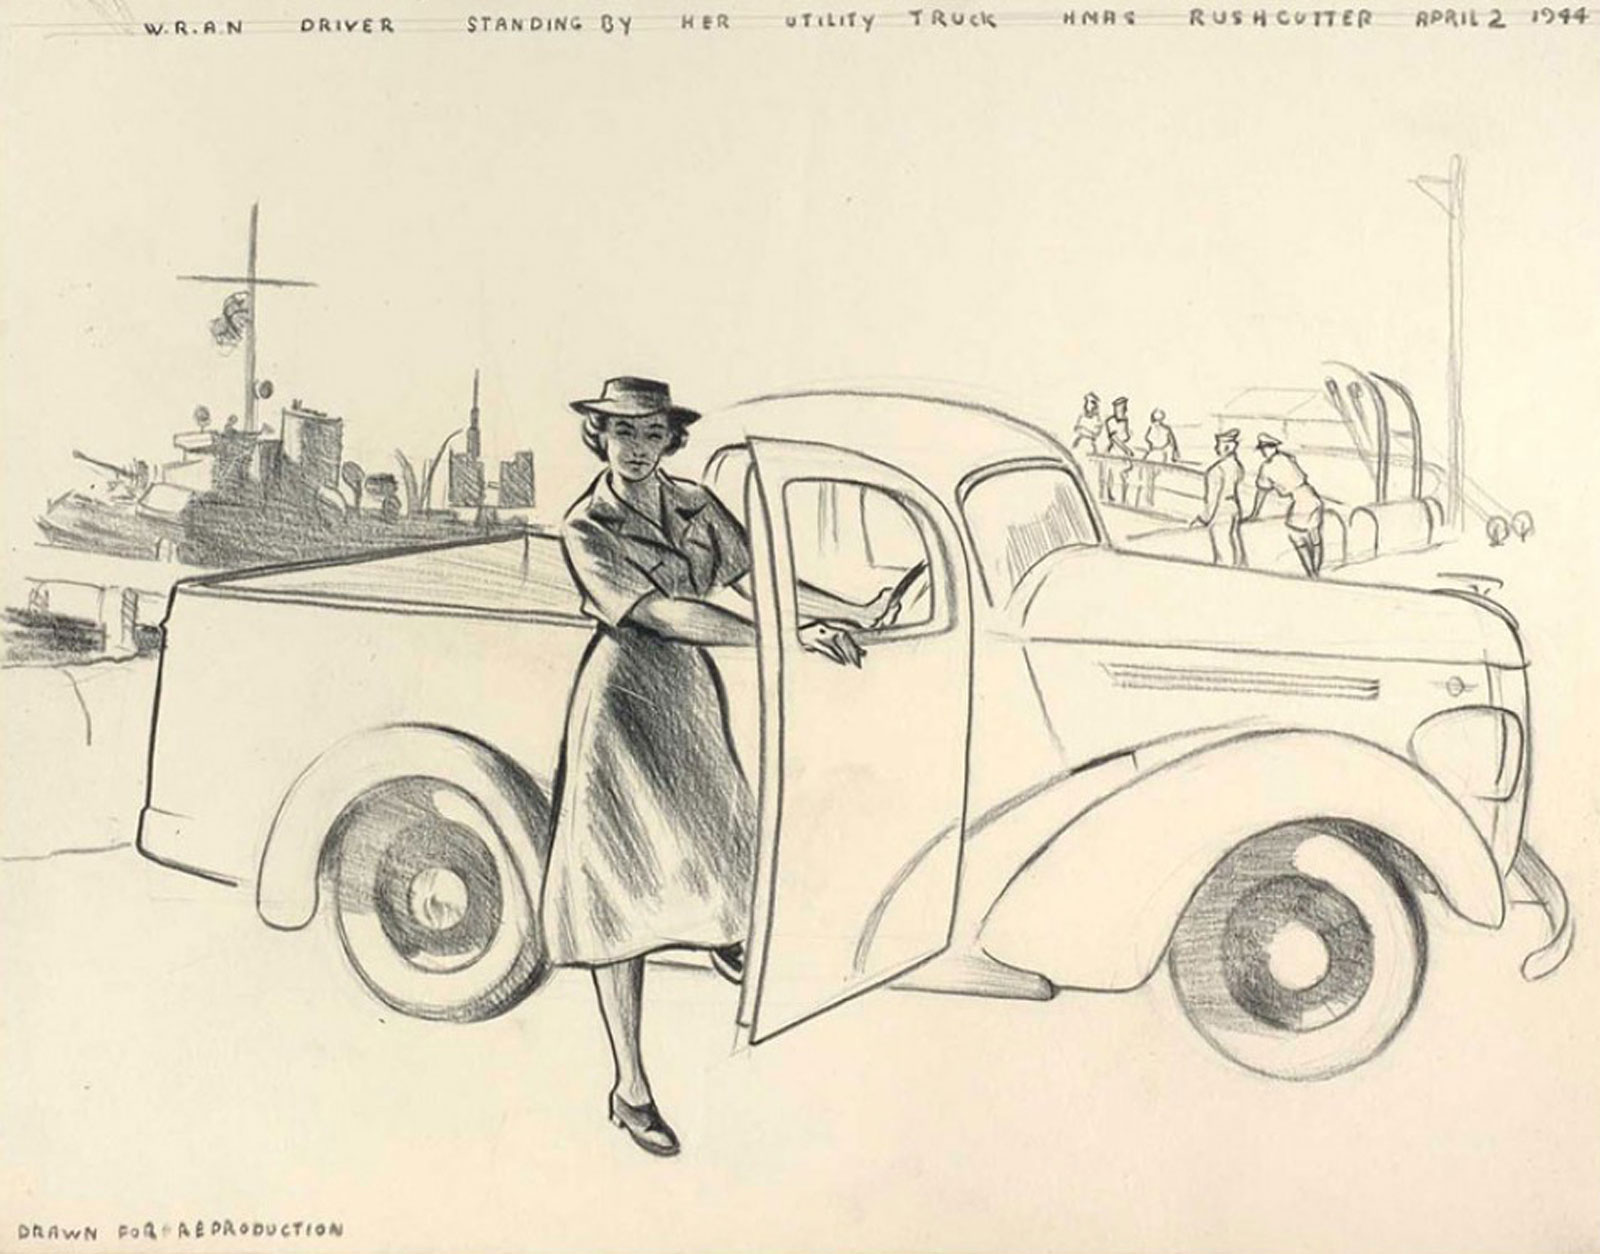
HMAS Rushcutter (former naval base in Sydney)
HMAS Shropshire
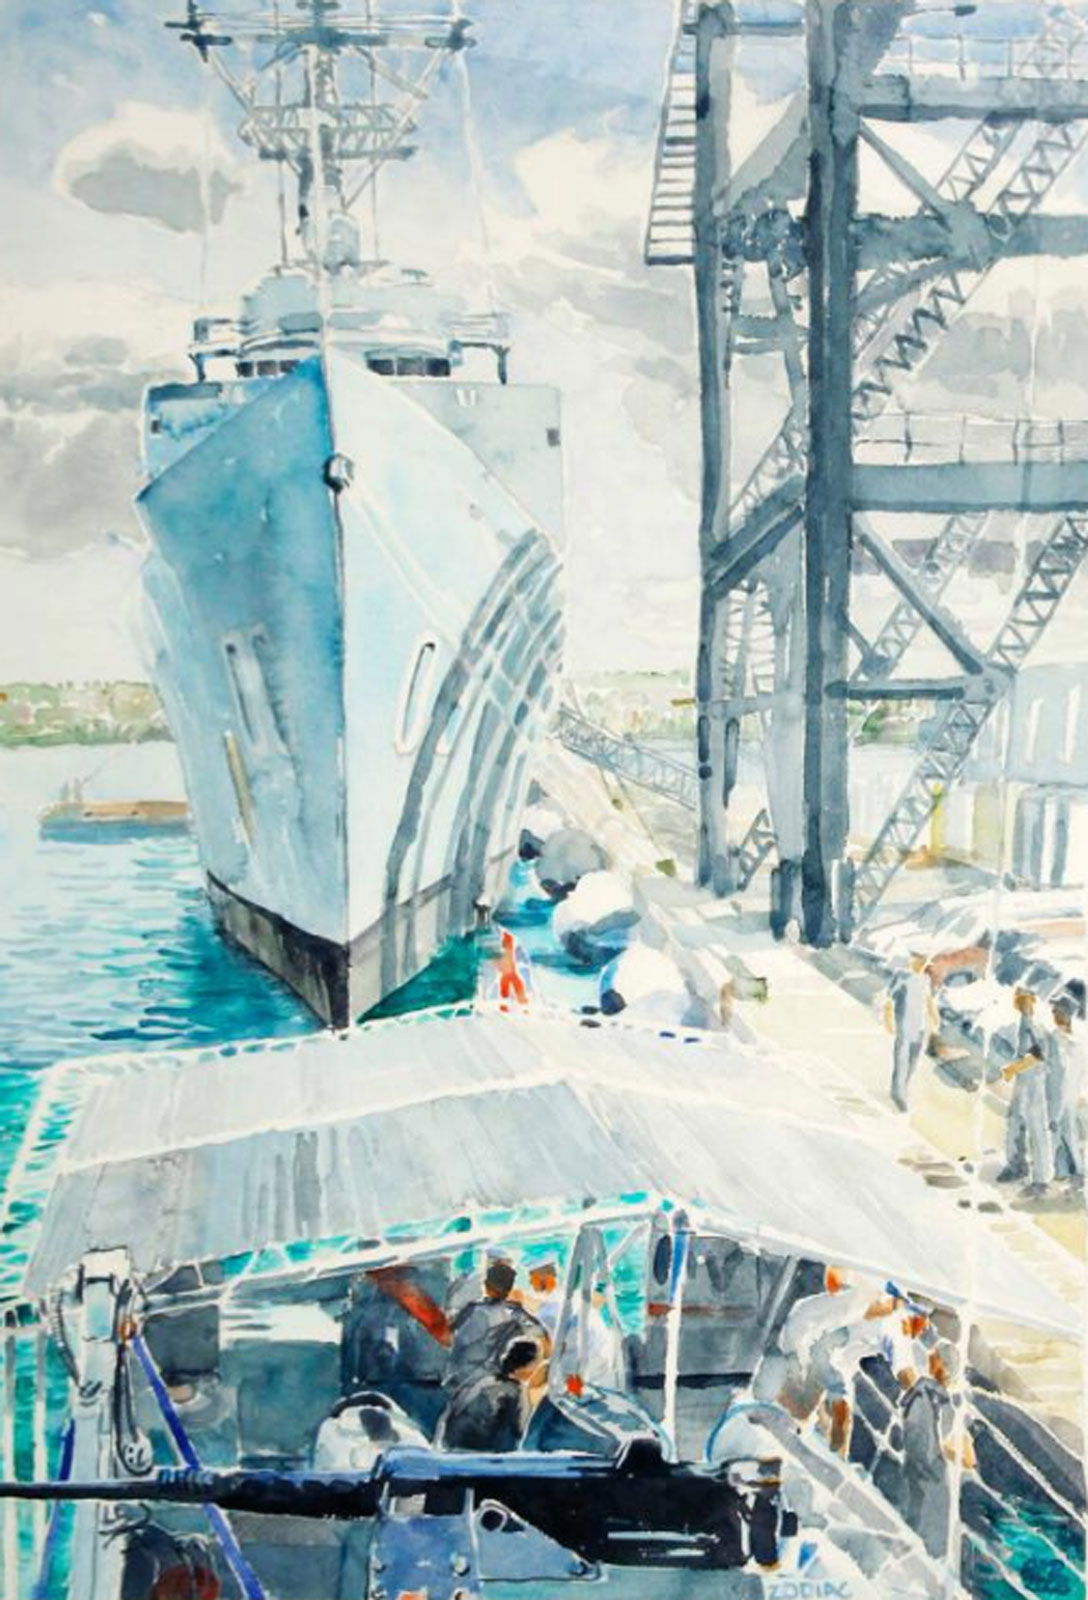
HMAS Stalwart

HMAS Stuart (l)
HMAS Supply (ll)
HMAS Swan (l)
HMAS Swan (ll)

HMAS Swan (lll)
HMAS Sydney (V)
HMAS Sydney (l)
HMAS Sydney (ll)
HMAS Sydney (lll)
HMAS Sydney (lV)
HMAS Tingira
HMAS Tobruk (ll)
HMAS Townsville (ll)
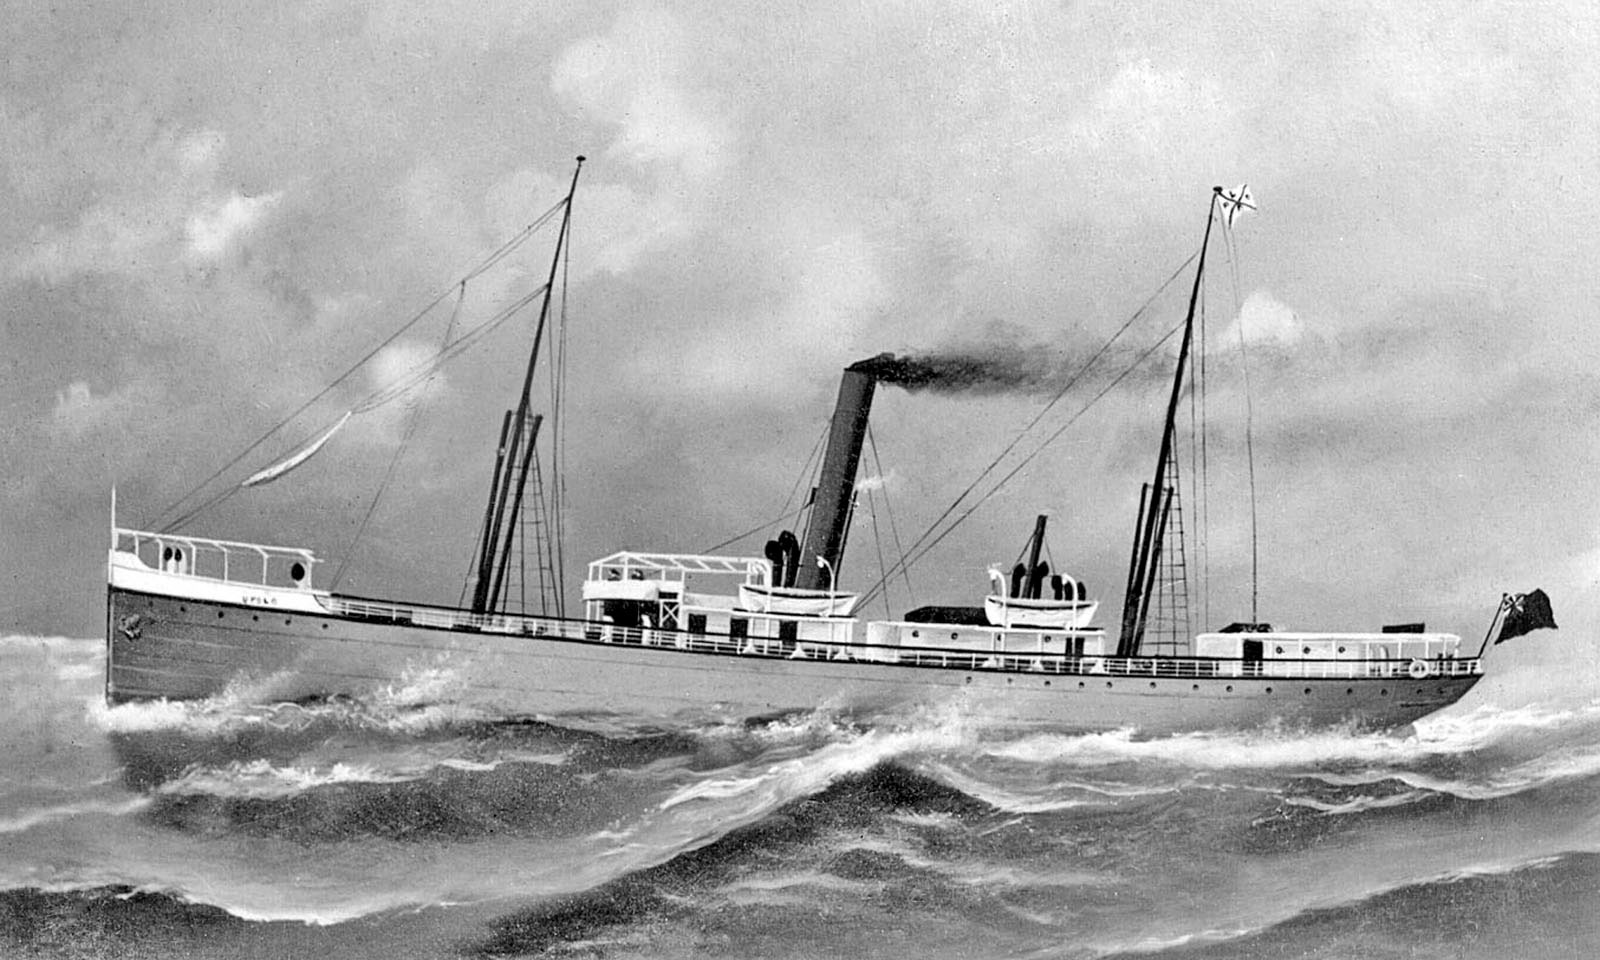
HMAS Upolu
HMAS Vampire (ll)
HMAS Vendetta (ll)
HMAS Voyager (l)
HMAS Voyager (ll)
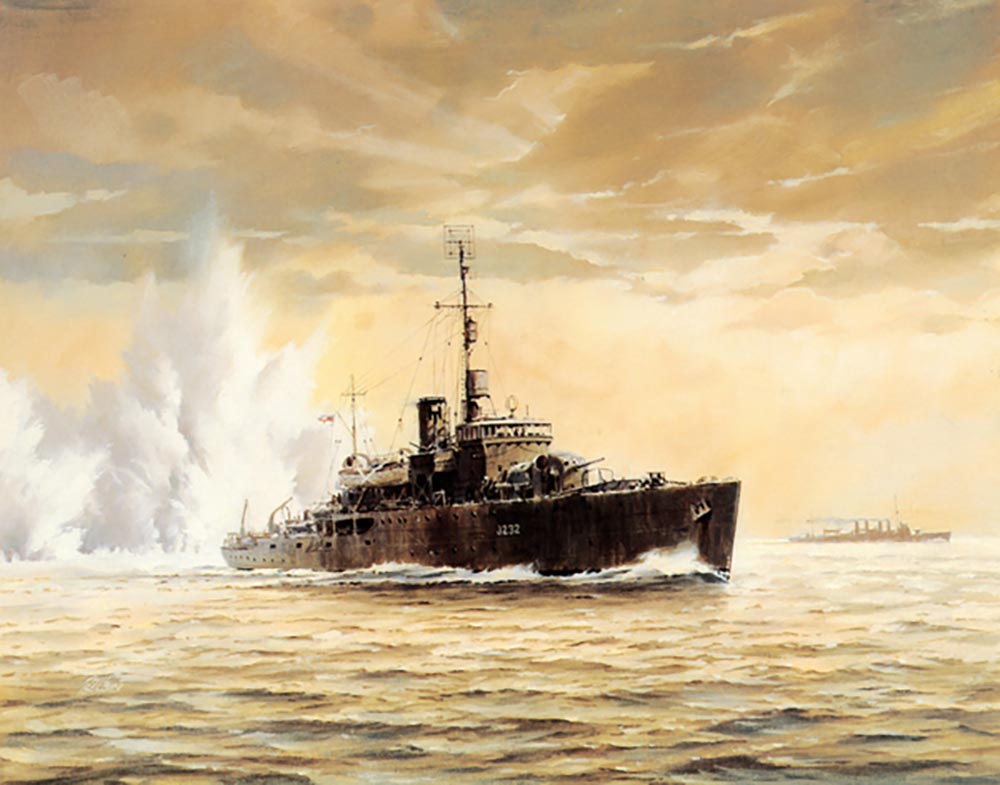
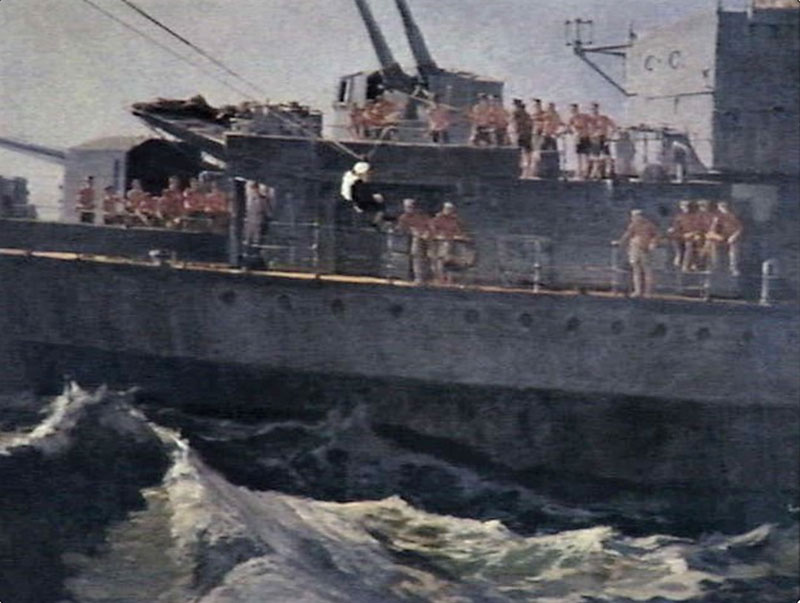
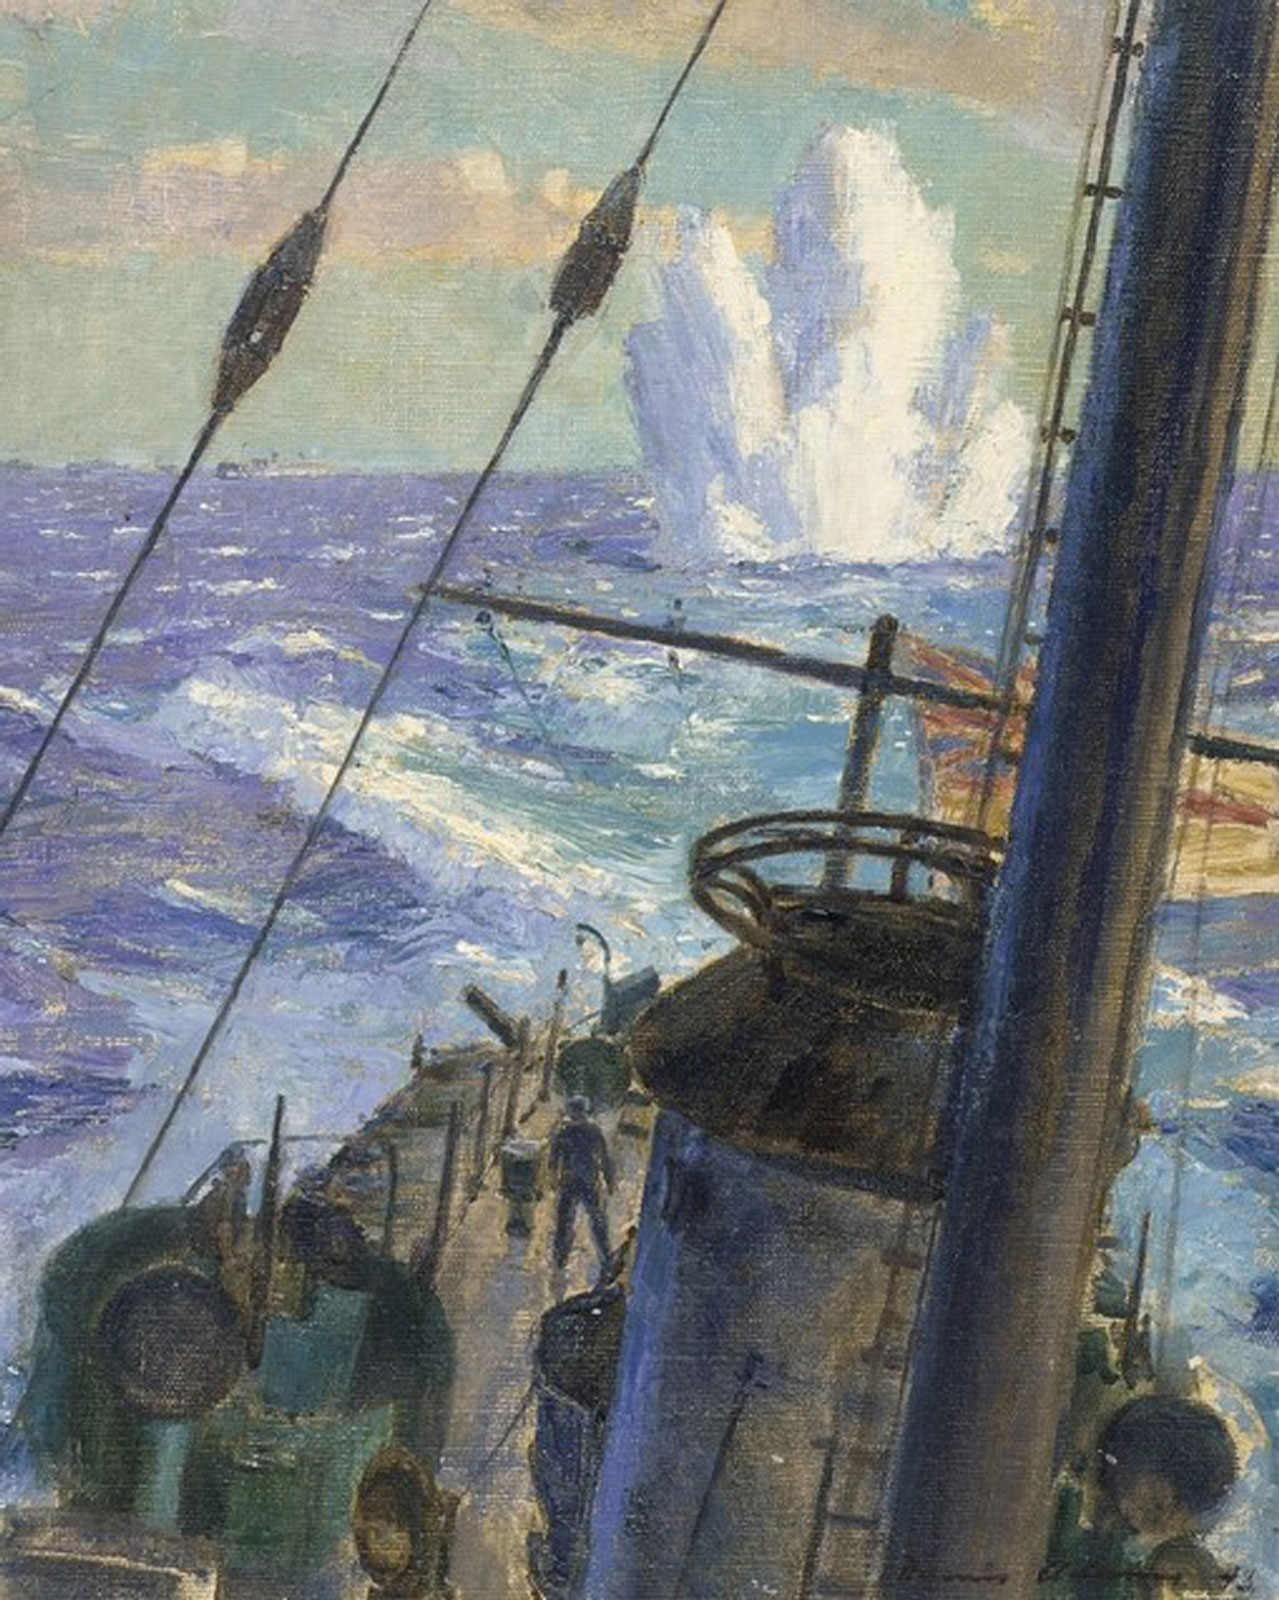
![Near miss, HMAS Wagga [Milne Bay] by Dennis Adams](https://navyhistory.au/wp-content/uploads/Near-miss-HMAS-Wagga-Miln-Bay-Adams-Dennis-1.jpg)
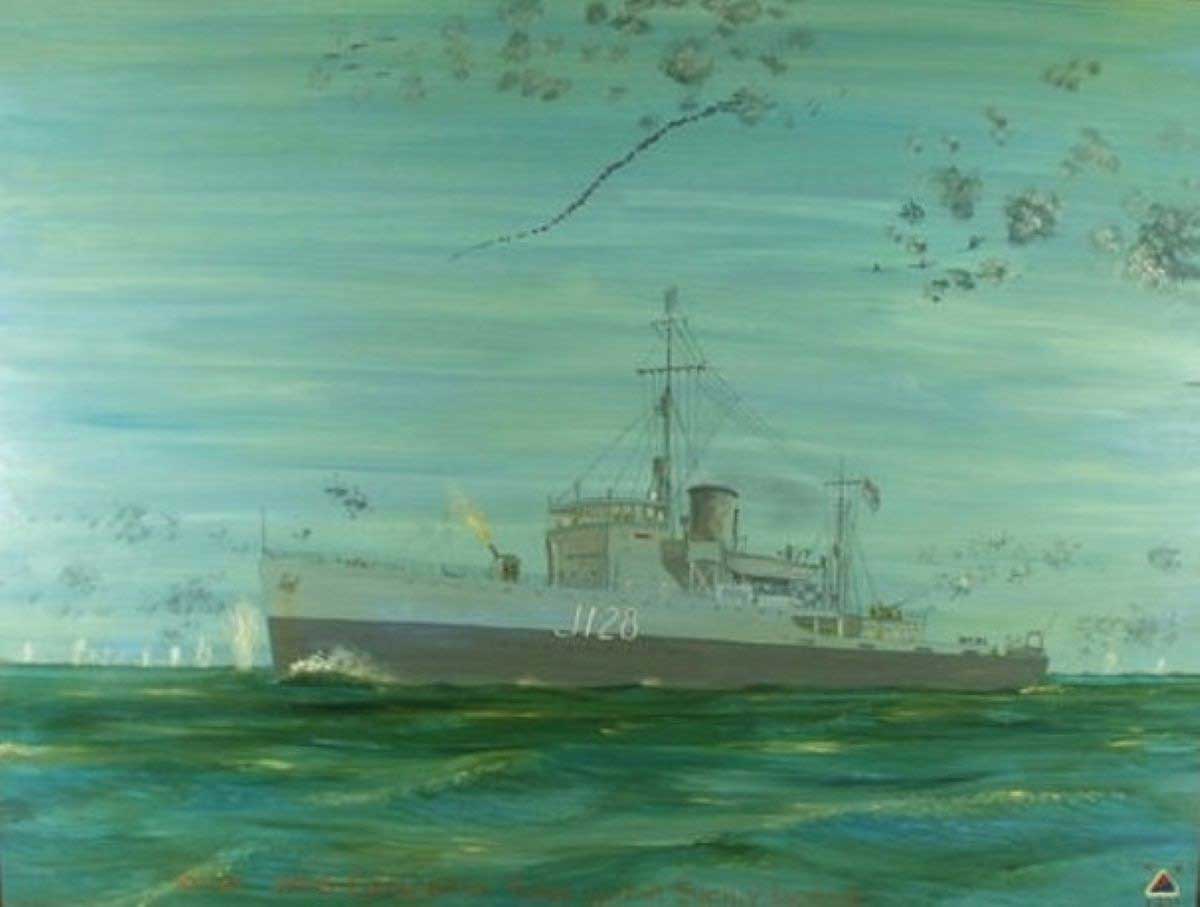
HMAS Wagga (I)
HMAS Warramunga (l)
HMAS Warrego (ll)
HMAS Waterhen (l)
HMAS Westralia (I)

HMAS Westralia (ll)
HMAS Whyalla (l)
HMAS Yarra (ll)
Hydrographic Ships
Oberon Class Submarines
Sailors at rest

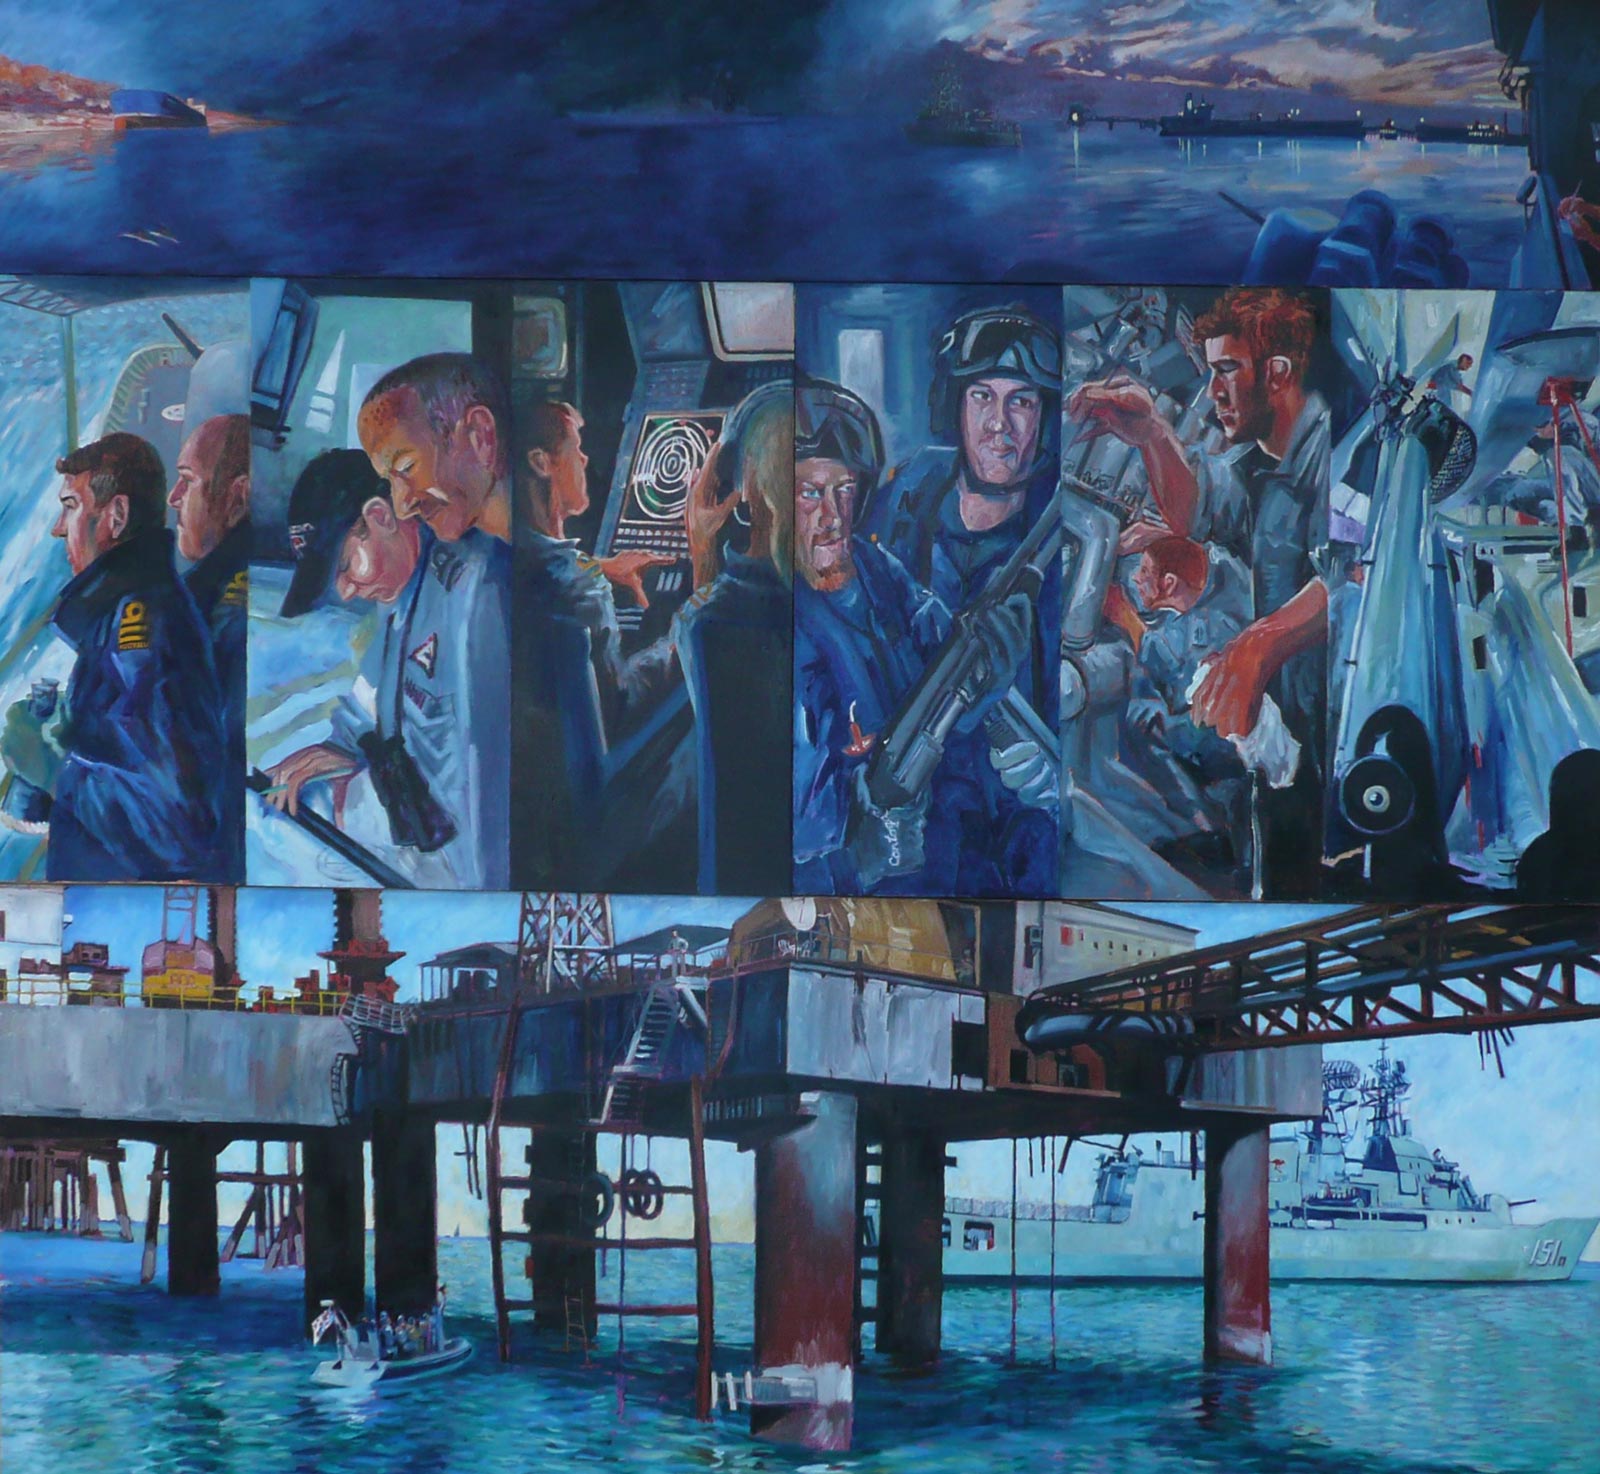
Sailors at work